We all know that varnishes for our paintings generally come in 3 finishes - gloss, satin & matt - but do we actually know when we should use one or the other and what are the real differences in application and effect?
Well, in this next instalment all about varnishes, I thought we’d dive into how to choose the right finish depending on the visual impact you want and the level of protection you need for your painting.
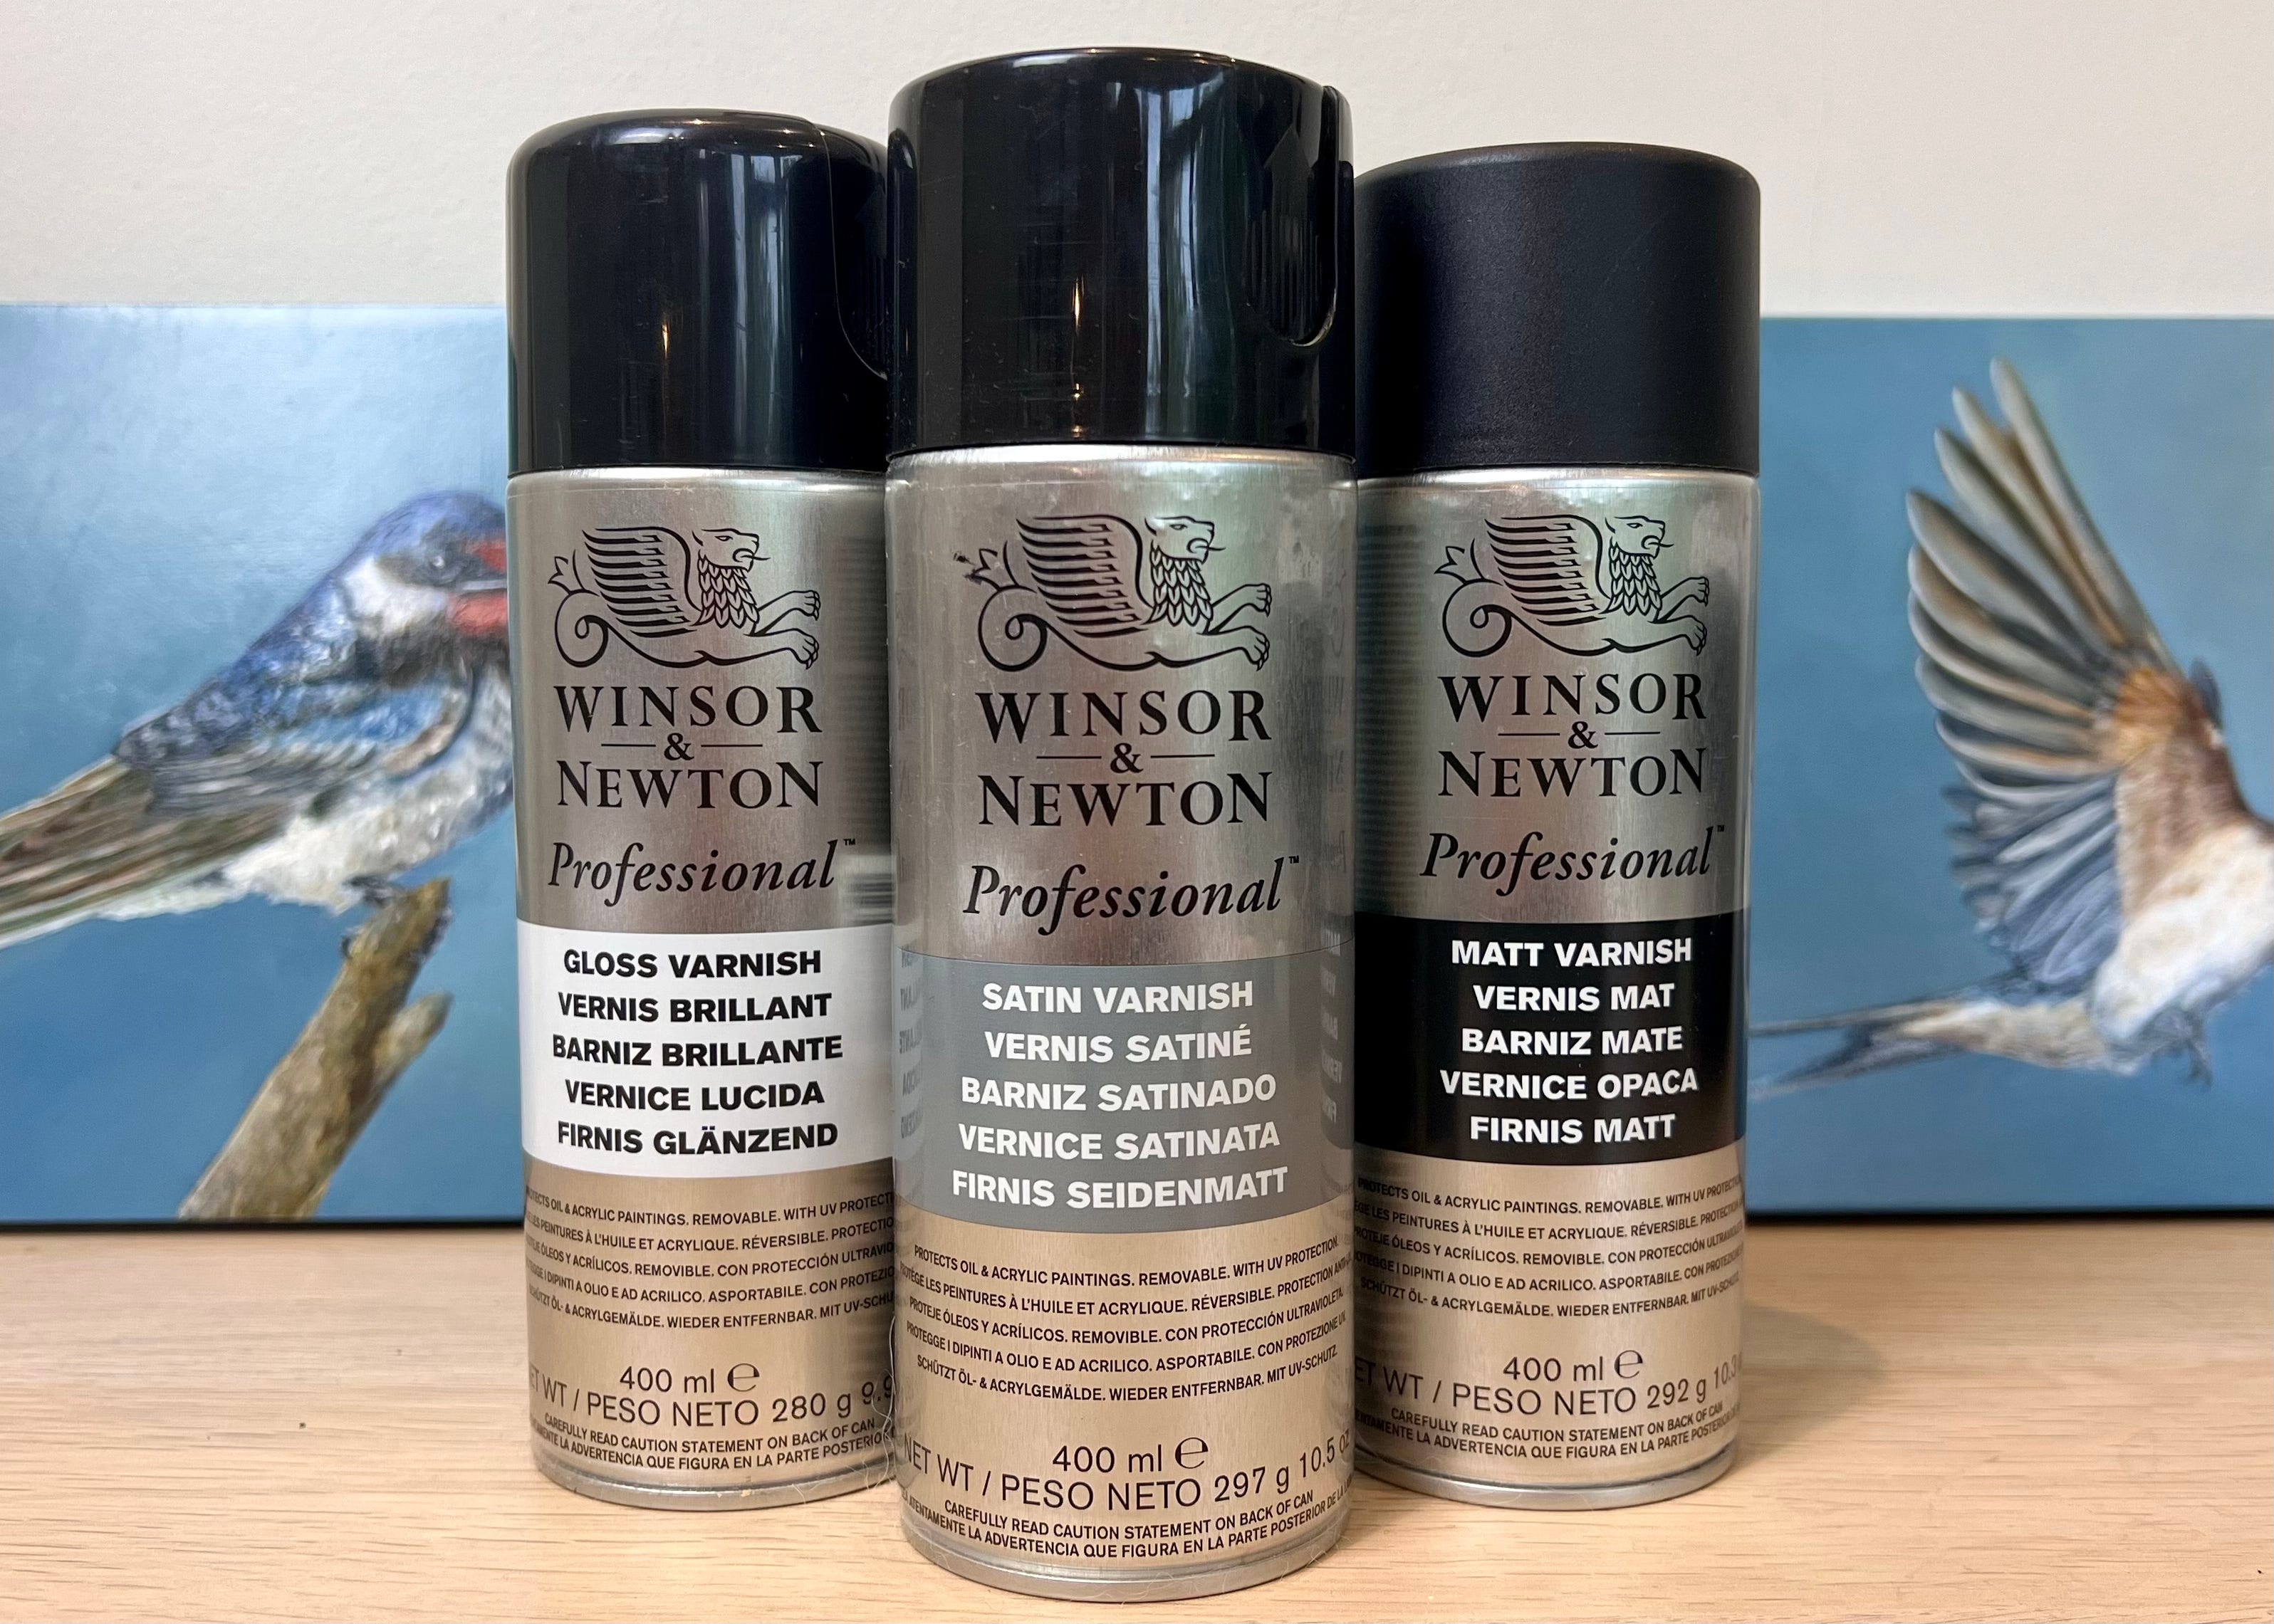
This is what we all generally know:
Artist varnishes come in a variety of finishes that not only protect the artwork but also influence its final appearance. The most common finishes are gloss, satin, and matte, each offering distinct aesthetic qualities and practical benefits for the artwork:
Gloss varnish is known for its shiny, reflective surface, which can make the artwork look more vivid and polished. However, the shiny surface can produce glare under certain lighting conditions, making the artwork harder to view from certain angles.
As gloss varnish enhances colour vibrancy and depth, it is popular for works where the artist wants to intensify the richness of the colours and bring out contrasts in darker tones. However, a gloss varnish will accentuate any brush marks and texture on your painting, which could be a fun detail or something to consider if you prefer a smoother look.
Satin varnish is the happy medium between glossy and matte finishes. It offers a gentle sheen that enhances colour richness without the intense shine of gloss. Artists often choose satin varnish for a balanced appearance—nothing too shiny, but still with a bit of lustre.
The soft sheen brings out the details in the artwork while keeping glare to a minimum, making it a versatile option for all kinds of paintings.
Matte varnish provides a flat, non-reflective surface and allows the artwork’s fine details to stand out without being overshadowed by glare.
And this is what you might not know….
Matting Agents: all varnishes start off with a glossy base, and to achieve a matte or satin finish, matting agents are added—either in the form of dry particles or wax.
These agents tend to settle at the bottom of the container, so you’ll need to stir them thoroughly to mix everything back together. If the container is clear, it’s easier to see this sediment at the bottom.
Be sure to stir (or shake if it is a spray) for around two minutes [Note: it is important not to shake a liquid varnish too vigorously, but rather swirl or stir the bottle so that you avoid creating air bubbles in the varnish which will end up on your canvas (the same caution does not apply to a spray varnish which is designed to be shaken)].
Gloss varnish is the thinnest, while satin is slightly thicker, and matte varnish is the thickest of all three as it contains the most matting particles.
Matte finishes can give a beautiful and subtle, almost invisible effect while still enriching the colour. However, a matt varnish can soften the appearance of the artwork by muting colours slightly and reducing the intensity of darker tones. This finish is ideal for pieces where a subdued, elegant effect is preferred. Be aware that this can sometimes cause the colours to appear less saturated, often lightening dark tones and care must be taken to ensure that the varnish is applied evenly to avoid a chalky appearance.
Multiple coats: applying multiple coats of a matte varnish can cause a build-up of matting agents, which may leave a dusty or cloudy appearance, especially on the darker tones. To avoid this, it’s best to start with one or two coats of gloss varnish and then apply a final layer of matte varnish to reduce the shine without overloading it with matting agents.
Various combinations of varnish can be applied in separate layers to achieve the result you are looking for, although I have found it always a better idea to start with one or two applications of gloss to avoid over-matting.
If using matt or satin varnishes, they should be the final coats to be applied.
This painting was varnished with 2 coats of gloss followed by a final coat of matt varnish to reduce the reflection and allow the tonal variation in the background to be visible without the reflective glare of a gloss. Police Horse MERLIN, 120 x 100
I hope this has been helpful to you! Look out for next week’s instalment - Permanent vs Removable Varnishes.
If you missed the last instalment - “How Long Do I Need To Wait?” - you can read it HERE.
Equine Painting Course
I’ll be opening registrations for this course again in November and will include a self-paced option for those not wanting to commit to any workshops.
I can’t wait to teach this course again!
If you missed out last time, you can join the Waiting Listand secure a VIP discount when registration opens!